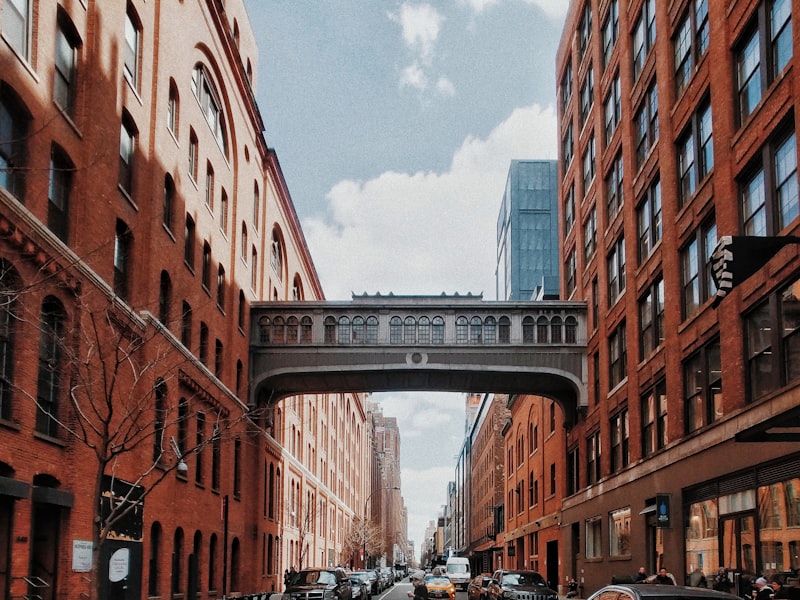
3D Modeling A City

3dcity.com is a instrument that permits users to rapidly create a digital illustration of a real-world location and its assets. It is primarily used for city planning and actual estate development, where a three-dimensional (3D) model of a metropolis can be used as a blueprint for future development.
The fashions can be used for land acquisition and development, creating 3d city maps, and for presenting the event plan in a straightforward-to-understand format. 3dcity may also be used to create visible comparisons of constructing initiatives before and after construction.
The site itself is built on a fashionable and sleek look, with massive pictures selling the services of the businesses who have partnered with 3dcity to create the site. The structure is designed to encourage discovery and data-gathering.
The Role of Technology in Modern Real Estate Development
New developments in digital real property know-how are blurring the lines between the physical and digital worlds. Using specialised software program instruments, 3d city users are capable of design and construct 3D city fashions with relative ease. The models can be used for nearly every aspect of actual estate development – from land acquisition and financing, to real property and building management, and property valuation and authorized documentation.
Technological advances have simplified the means of modeling a city, making it accessible to a larger audience. The flexibility to assemble and manipulate 3D fashions has significantly diminished the amount of effort and time required to design and plan profitable real property developments.
The right way to Create a 3D City
Step one in making a 3D city is to determine a location that you would like to model. You should utilize Google Earth's constructed-in search device or choose a metropolis from its detailed map view. The search bar at the highest of the display allows you to restrict your search to specific areas or districts inside the city.
Next, you might want to determine the size of the model. The default setting for Google Earth is to create a 360-degree mannequin, which is the equivalent of flying over town and seeing it from above. However, if you wish to zoom in to get a more in-depth take a look at particular areas, you can always change the size of the model to a more refined degree.
Upon getting chosen a metropolis and decided the suitable scale, you can proceed to the following step.
Step Two: Set the Camera Base and Position
The position of the digicam is critical to creating a realistic trying model. To ensure that the digicam properly displays all the metropolis, you have to set the digicam to a bird's-eye view. One of the best ways to find out what orientation the digicam must be in is by taking a look at the top of the mannequin and rotating the gadget to see if the image turns upside-down or sideways. After getting set the camera's place, you possibly can move on to the following step.
Step Three: Add Landmarks and Other Features
Adding buildings and different bodily options to the mannequin is the important next step. These elements will function the premise for comparability and validation of the model's development. The built-in search bar positioned at the highest of the display will be especially helpful for this step, enabling you to search for particular landmarks or objects.
When choosing a location to mannequin, take into account that a few of probably the most recognizable structures could also be unavailable to be used within the creation of the town. For example, if you're modeling a certain city in the United States, there may be an opportunity that some of the precise constructions, such because the White House or the U.S. Capitol, may be unavailable to be used. Similarly, if you're contemplating modeling a selected metropolis in Asia, remember that a few of probably the most recognizable buildings, such as the Tower of London or the Burj Khalifa, might not be accessible for use within the creation of the city.
Step Four: Add the People
Adding folks to the model is simple – just click the “add people” button and enter the primary names, final names, and email addresses of the individuals you prefer to to include within the mannequin. You may also upload a CSV (comma-separated values) file containing contact info for a number of individuals. The smartest thing about this step is which you could immediately begin to visually analyze the model – simply click on the “analyze” button to see how the mannequin appears at this level.
Step Five: Customize the colours and Shapes of the Model
There are lots of visual touches that may be utilized to the mannequin to make it extra reasonable. Certainly one of the best and most effective tools is the ability to alter the colours of the elements. You may select a specific colour for every sort of constructing or landmark by clicking on each factor and choosing a coloration from the drop-down menu. The identical option is offered for almost all built-in elements throughout the mannequin.
There are also many ways to customize the shapes of buildings – click on on an element and choose the form you want to make use of from the drop-down menu. The perfect half about this step is that after getting made the required adjustments, you will notice how the mannequin immediately transforms to match the specified look. For example, when you want to create a extra three-dimensional impact, you can all the time enhance the width of the streets or add more buildings alongside the beforehand-created ones to provide the mannequin a more reasonable look. This step is very helpful for houses, where you may visually analyze the model and make refined form adjustments to create a extra reasonable looking building.
Step Six: Save the Model
After you may have accomplished adding all the required components to the model, you possibly can click on the “save” button to make it an official a part of your undertaking. You can even rename the mannequin to make it more descriptive or add a quick comment to offer additional data. After you have saved the mannequin, you can return to the main menu and continue to work on other elements of the venture.
Using the Model After it is Complete
Now that you've got constructed a totally-useful 3D city mannequin, there are many ways which you could proceed to use it. You'll be able to download the mannequin and save it to your laptop for later use. Additionally, you'll be able to create floor plans, construct comparisons, or generate GIS (Geographic Information Systems) maps – all of which may be very helpful in the proper use and upkeep of the property.
When you've got multiple mission, you need to use the model created for one venture as the basis for the opposite. Just change the data within the mannequin for the opposite challenge and you'll have the ability to see the differences in the 2 setups with a easy click of the mouse.
In the event you ever resolve to sell or lease the property after you have completed the undertaking, utilizing a 3D city mannequin to correctly worth the actual property is fairly simple. Simply enter the suitable knowledge into the mannequin, choose “property type” from the gear icon at the highest of the display, and “real property value” from the drop-down menu. You can even generate a title for the property that is appropriate to be used in authorized documentation – merely input the deal with of the property and the system will do the remaining.
This is barely a short overview of the steps required to build a 3D city model. There are numerous other features that you can access throughout the program, such because the survey device that can be utilized to create a flooring plan and the mortgage calculator that can assist you identify the feasibility of the project.